Tutorial: How to Create A Personalized Image in Email
This article originally appeared on our sister blog Email Design Workshop
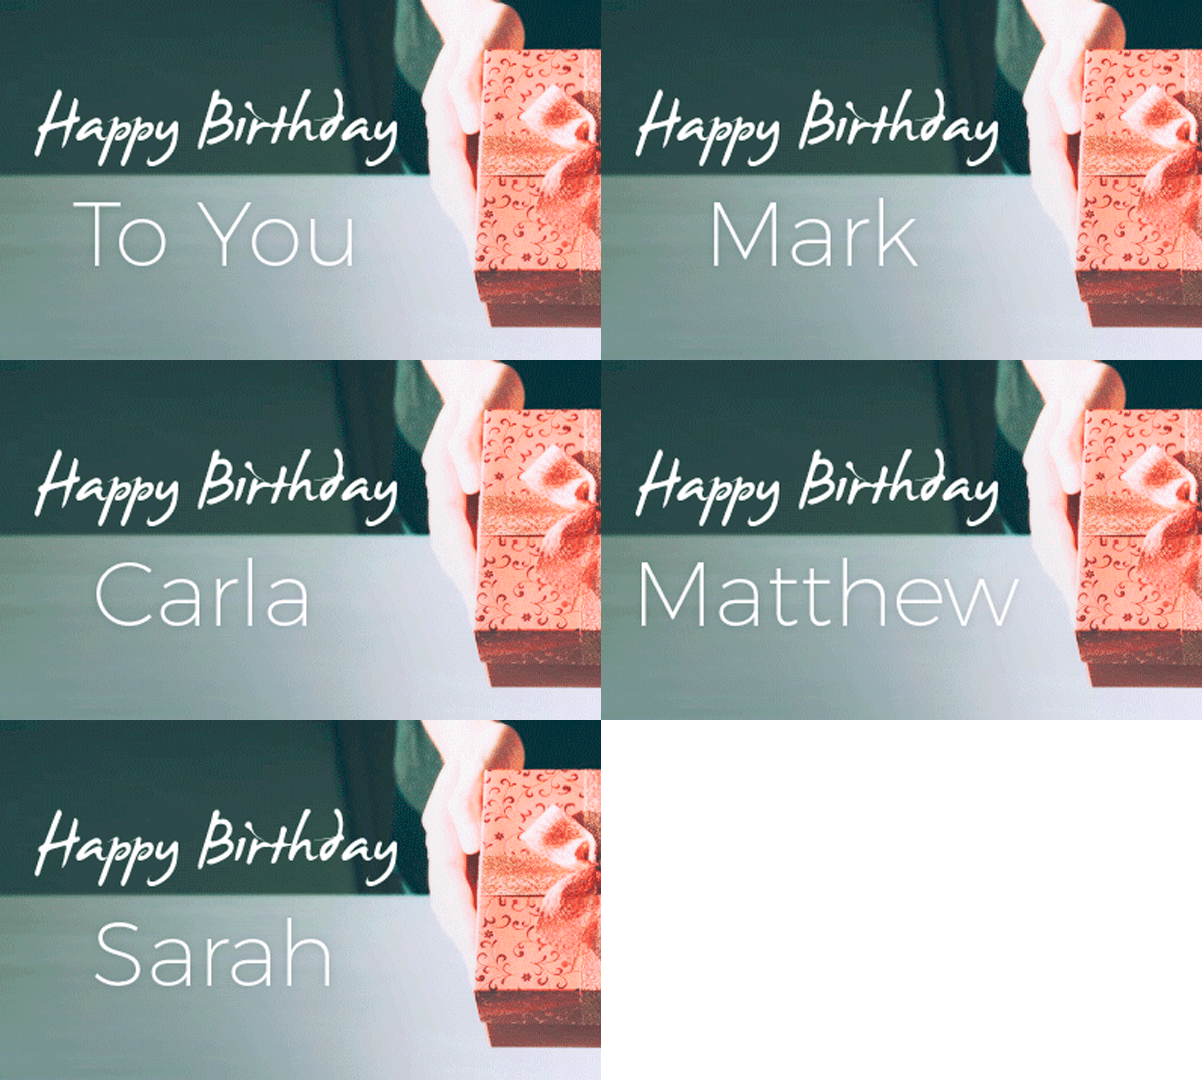
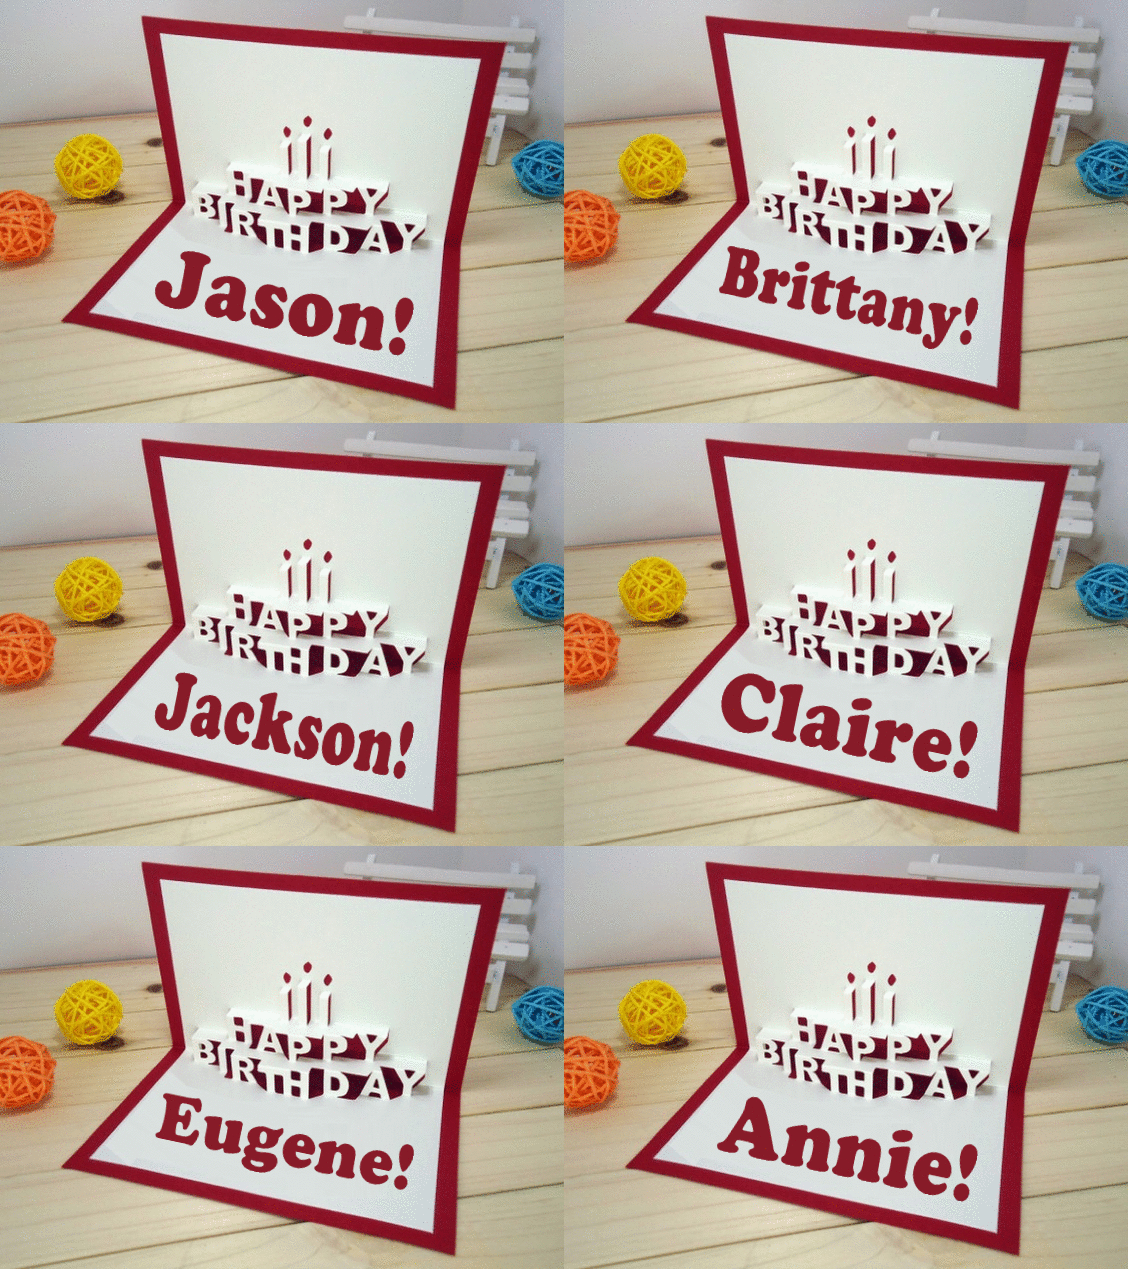
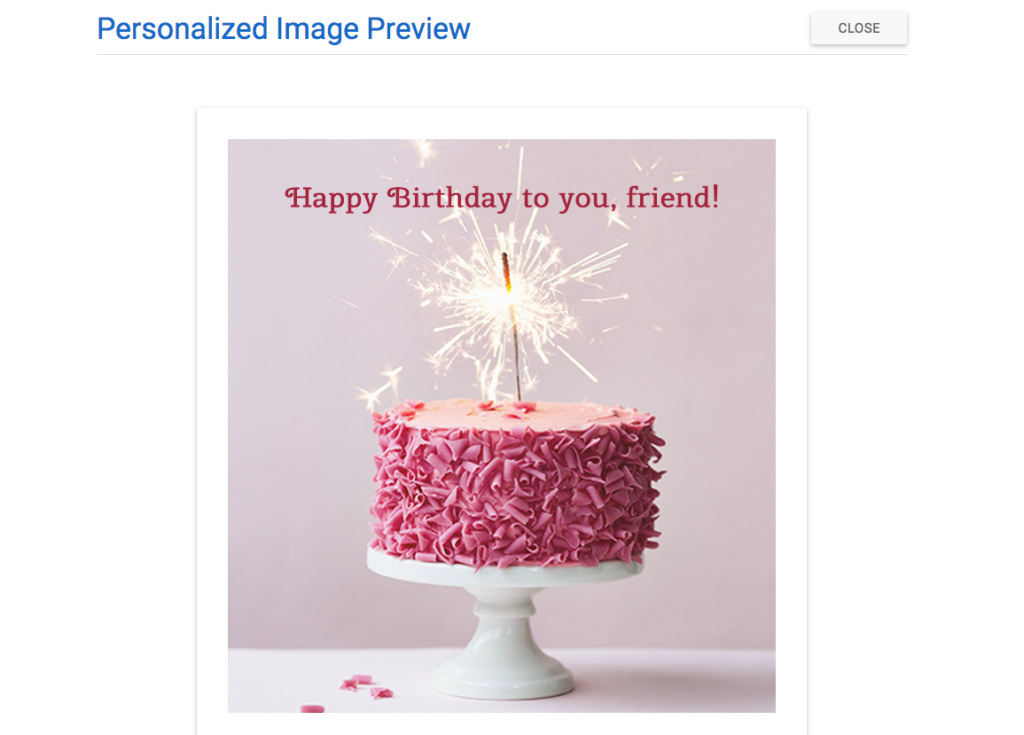
Thanks to a number of online tools, adding dynamic content to our email campaigns is becoming easier and more accessible, as we’ll see in this email design workshop. You can actually take any image from your email campaigns and turn it into a personalized, dynamic image. Your subscribers will see their own name shown up, as shown below with this happy birthday image from NiftyImages:
Practical example: a Happy Birthday email
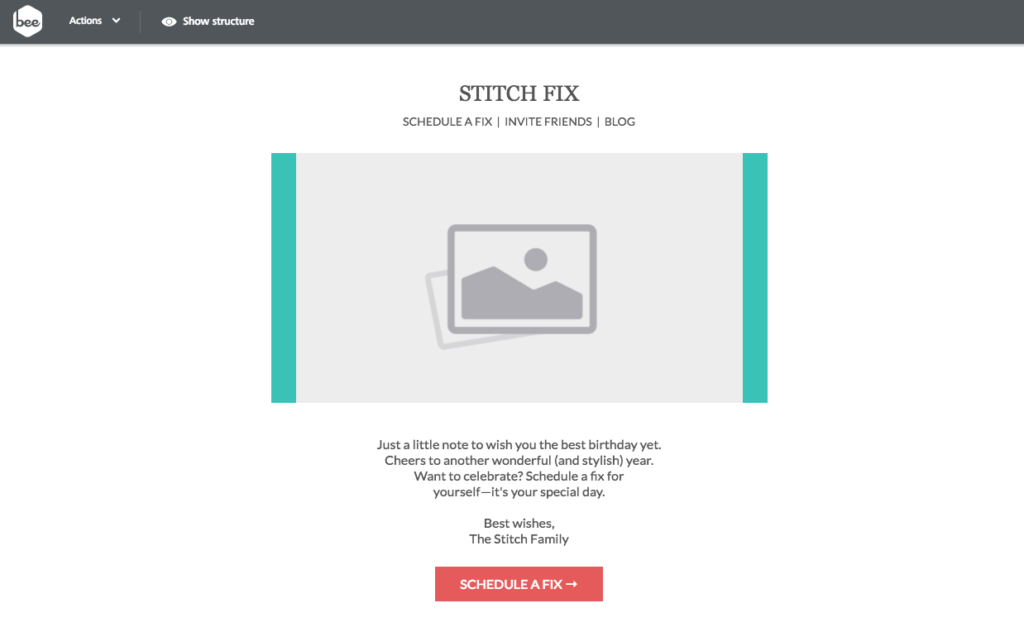
Let’s take this happy birthday email from Stitch Fix, an online styling brand.
Birthdays are a great opportunity to connect on a personal level with your subscribers. They’ll love to know you’re thinking of them and happy to see a personal offer on their special day. If you’re not already sending a personalized birthday email, now’s the time to start, since tailored birthday emails achieve a 179% higher click-through rate compared to regular promotional emails.
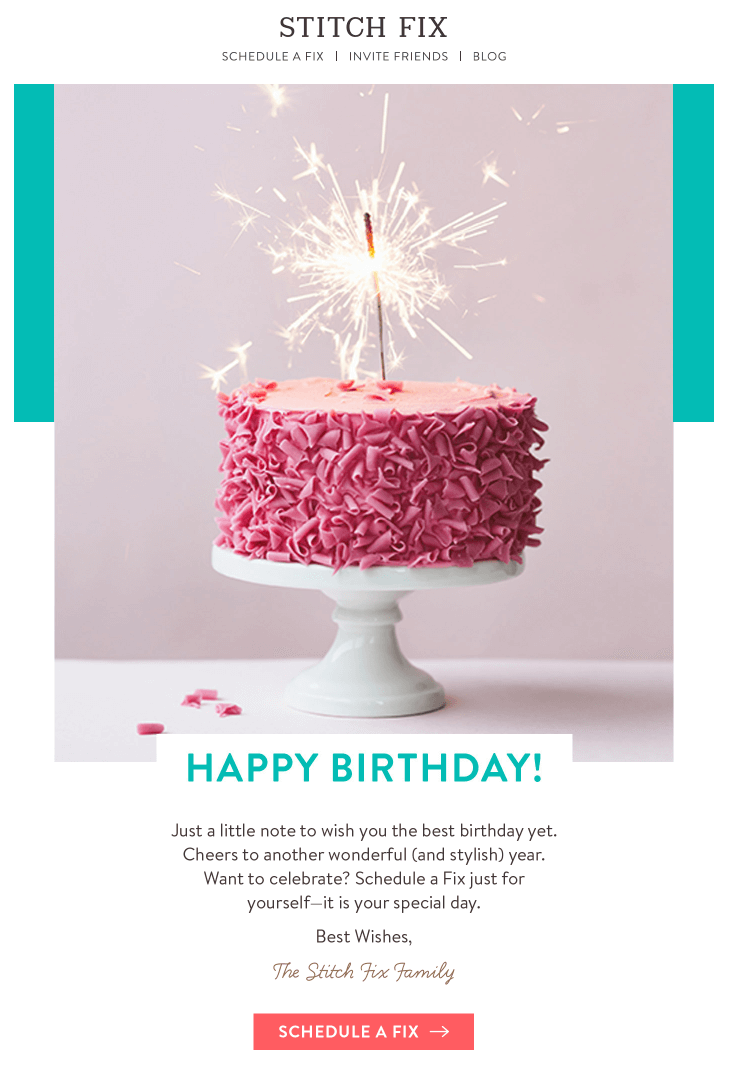
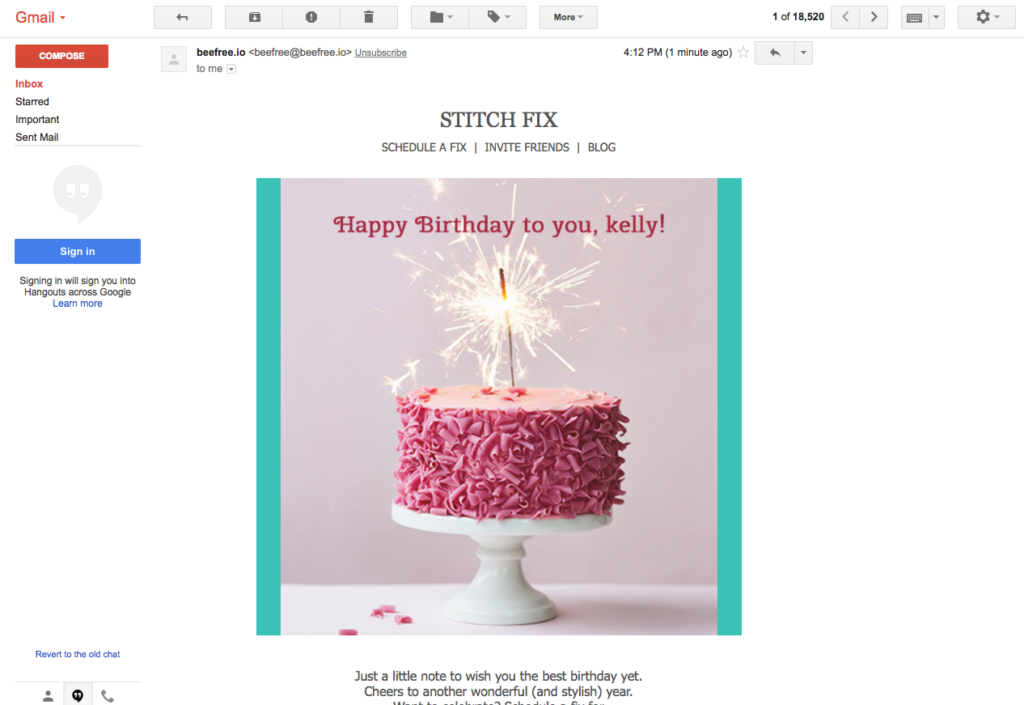
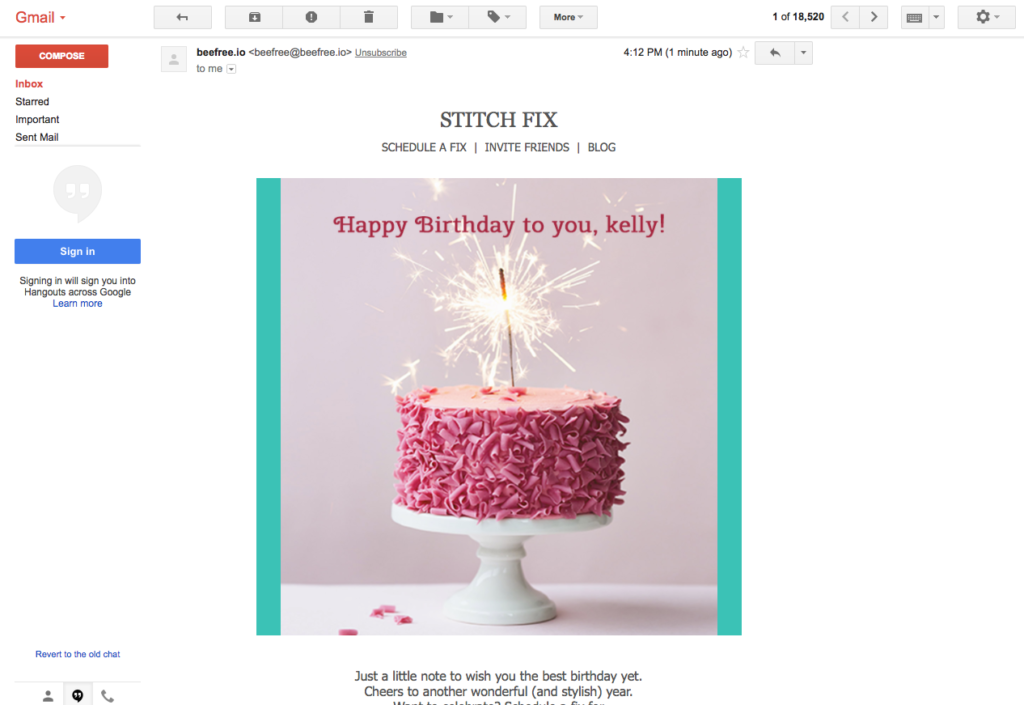
We’ll be taking the static birthday cake image from the Stitch Fix email and transforming it into a dynamic, personalized image that will show your subscriber’s first name. Here’s what the finished email looks like from my inbox with my name, Kelly:
Tools you’ll need to get started
We’ll be using these two online tools to build our dynamic, personalized happy birthday email:
- Our intuitive, drag & drop editor to design the email message. If you’re not already using MailUp, start a free trial to have access to its editor.
- NiftyImages to build the personalized image. NiftyImages is a platform that provides easy-to-use tools for creating personal images and countdown timers. You can sign-up for free on https://niftyimages.com/
Let’s get started with the workshop and follow along with our video tutorial:
[post_video_embed url=”https://www.youtube.com/embed/gYooNhQX57c” height=”” width=””]
From developing integrations to strategic support, from creating creative concepts to optimizing results.
Step #1: Design your email in the drag & drop editor
Let’s recreate the layout of the Stitch Fix happy birthday email in the drag & drop editor. Begin with a single column layout and add the header, image block, and text blocks below.
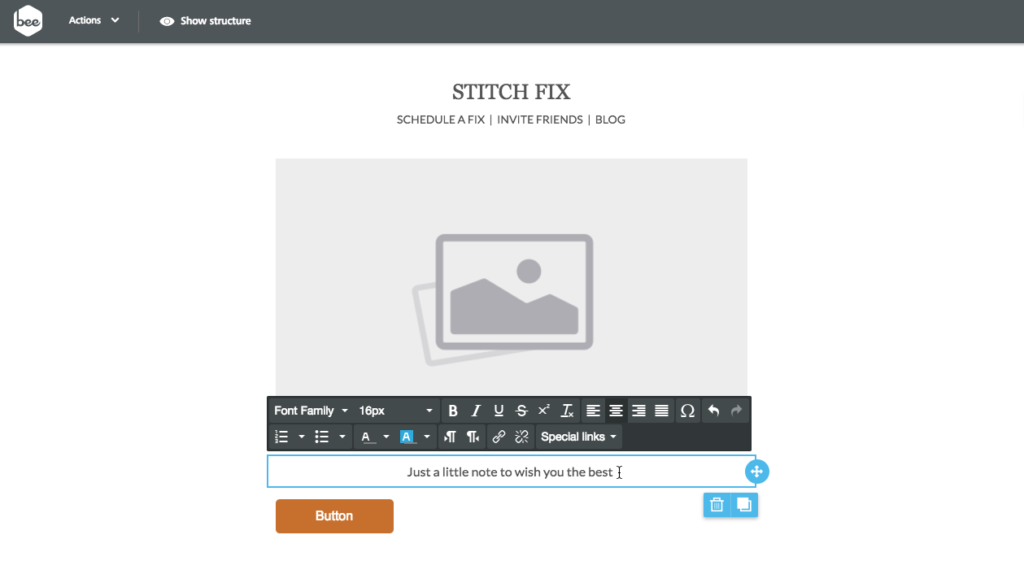
Next, add the text and customize the CTA button. Let’s also add a turquoise HTML color padding to the image, as in the original email. For now, though, let’s leave the image placeholder blank.
Our layout is pretty much complete. We now need to create the personalized, dynamic image from NiftyImages and then upload it into our image block in the editor:
Step #2: Create and customize your personalized image with NiftyImages
If you haven’t already, create a NiftyImages free account to get started immediately!
Step #2.1: Design your personalized image
On the welcome screen, select New Personalized Image.
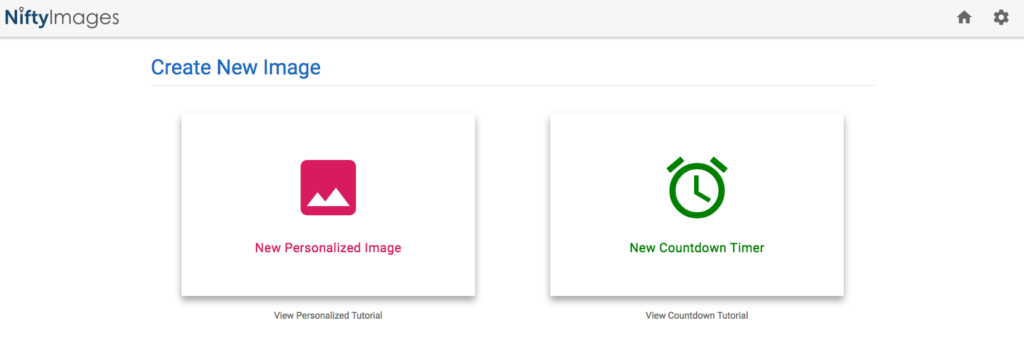
- Upload your own image
- Choose a template from the NiftyImages library
Here’s a peek at the great birthday image templates that are available:
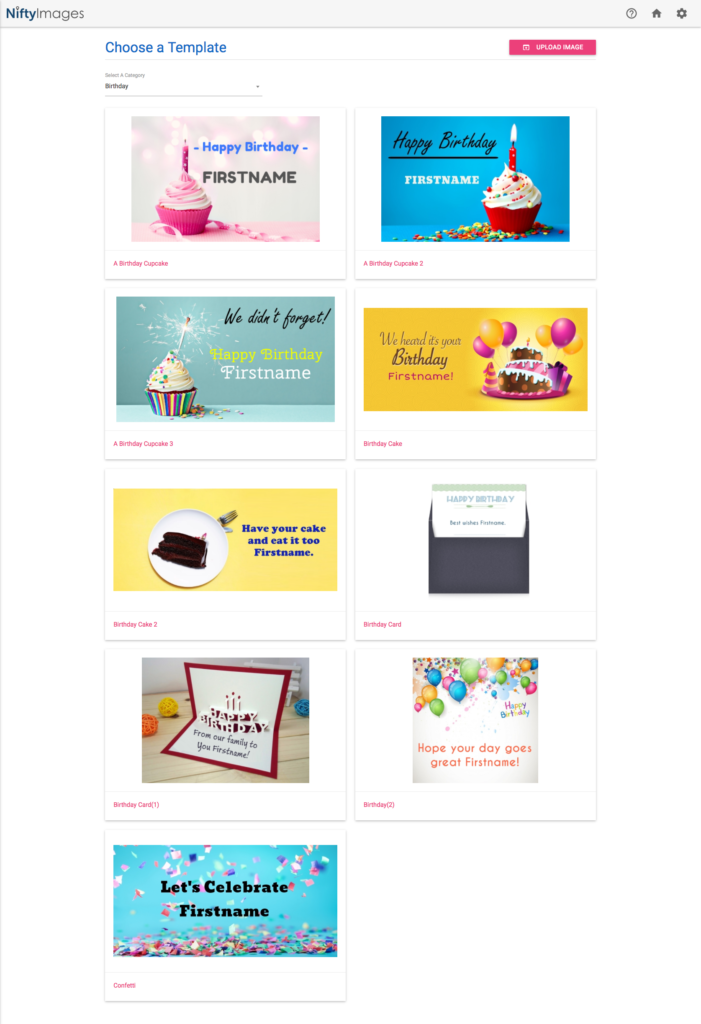
Since we already have our birthday image from the Stitch Fix example, let’s upload into NiftyImages. Click the [Upload Image] button in the upper right corner to import the Stitch Fix image. The default personalization text “Great deals for our customers” will show up for us to edit next.
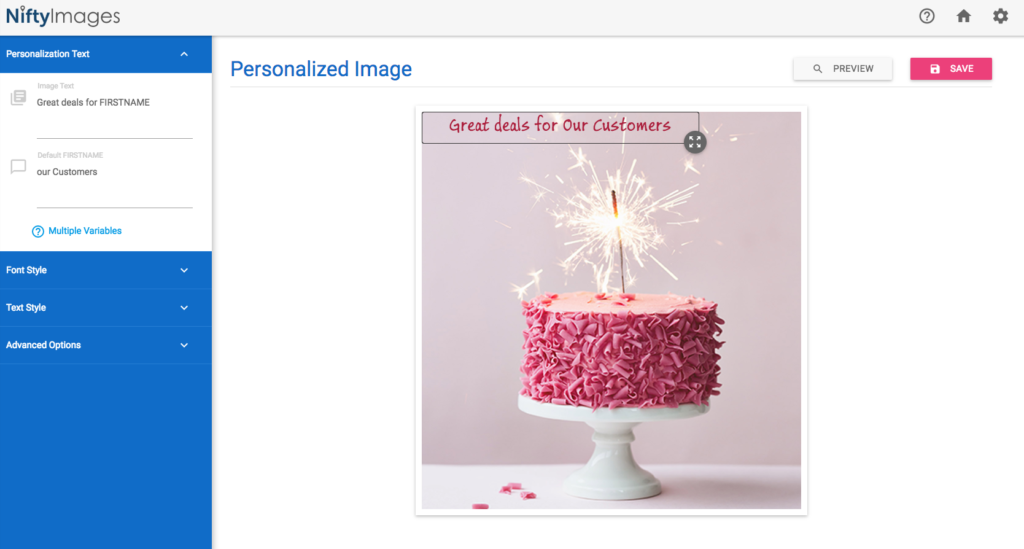
Using the menu on the left, we can indeed customize the font size and style, and the text itself. Let’s update the message to reflect the birthday theme:
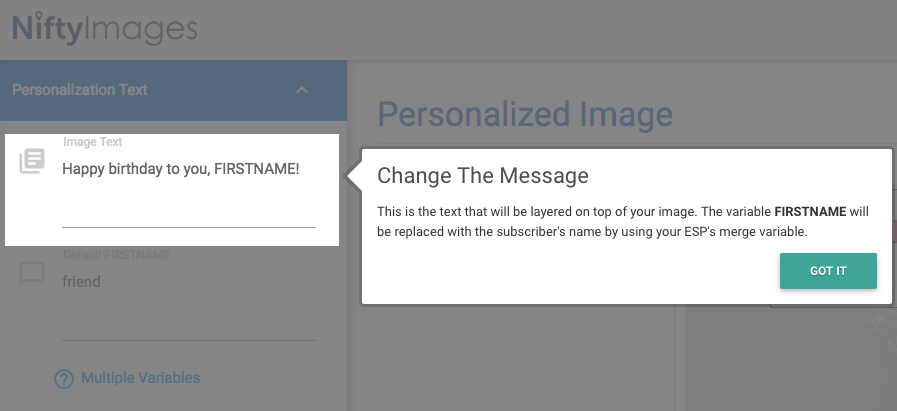
For now, we’ll use FIRSTNAME as a placeholder for our dynamic text; you’ll see how to customize it for your email service provider (ESP) in the next step.
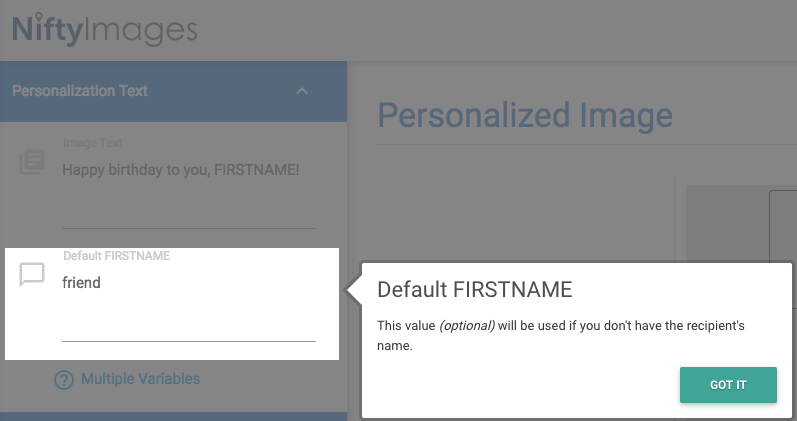
Next, provide backup text, so that any recipient whose name isn’t in your mailing list database will still receive a complete message.
Let’s now preview how our birthday image looks, by clicking on the [Preview] button in the upper right corner:
Step #2.2: Create your dynamic image URL
Let’s get a bit technical. The personalized happy birthday image that we designed has a special dynamic URL. Notice that the image URL has the recipient first name field as a parameter at the end, which is specific to the emailing platform that you’ll be using to send this email. You therefore need to choose your email service provider (ESP) from the drop down. Here’s an example for MailUp, our email marketing platform.
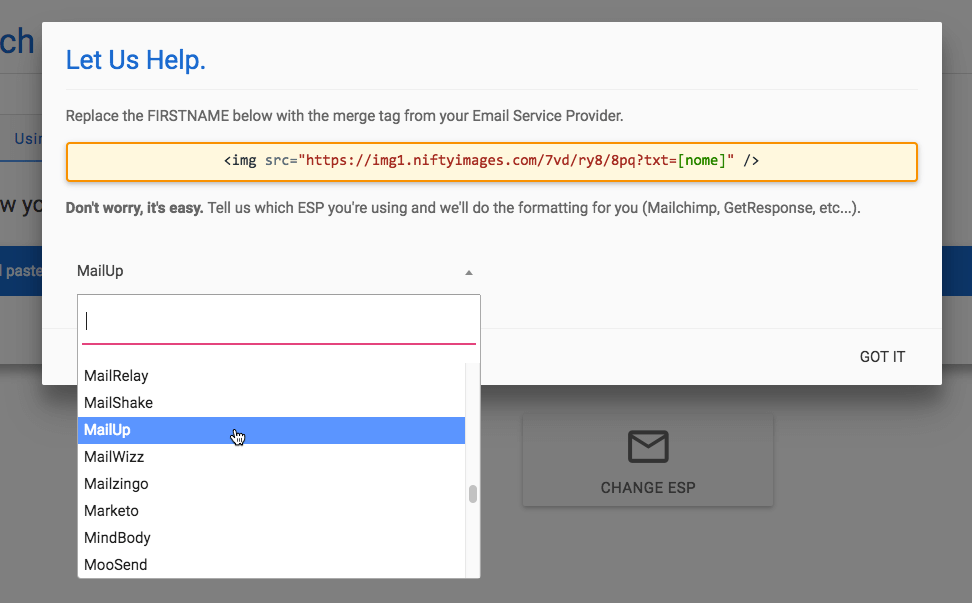
This step is very important: if the first name merge tag syntax is wrong, then the image won’t work. Each ESP has a different syntax for merge tags (some use curly brackets, for instance). The drop-down in NiftyImages generates the URL for your email service provider (ESP). So once you choose your ESP, copy the image URL and let’s get back to the editor. We’re almost done!
Here a quick video tutorial from NiftyImages on how to generate the dynamic image URL:
[post_video_embed url=”https://www.youtube.com/embed/uwUxinJaklM” height=”” width=””]
Step #3: Add the personalized image to your email
In the MailUp editor, click on the image placeholder to view the menu on the right. Turn on the Dynamic image button from the Content Properties. To learn more about the dynamic image feature of the editor, please view our help article on How to use dynamic images for countdown timers and personalized content.
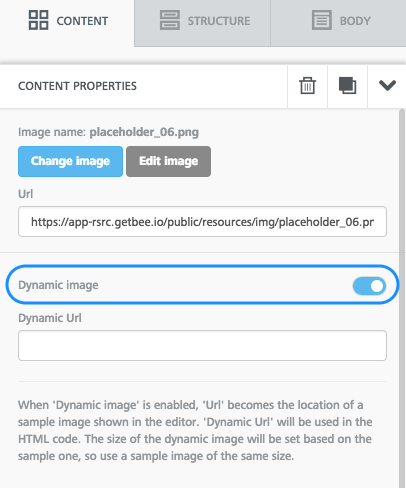
Paste the image URL from NiftyImages and the personalized happy birthday image will now appear in the editor.

Finally, let’s preview how the recreated Stitch Fix happy birthday email looks with the personalized, dynamic image that we created. Looks great, don’t you think? ?
Wrap up: design your next personalized email
Voilá! We’ve created an awesome personalized happy birthday email with just two design tools and in three simple steps. So, there’s no excuse not to try more personalization in your email campaigns! If you’re not already using MailUp, sign-up for a free trial and have access to additional templates and design features.
