How to give web images the ideal weight

When we work on web image weight, we almost always try to maintain its initial quality and beauty as much as possible. We tend to think that any resize will compromise the end quality. Choosing the right program or site, as well as the right compression level, is therefore essential to optimize the images of your site get the best possible result.
Maybe you’re a web content manager and often need to reduce the weight of your images with attention on their loading speed. So you might want to download a specific PC program and always have your work at hand to arrange everything as you want.
If, on the other hand, you need to reduce the weight of web images just occasionally, or for a one-time job or emailing a file, then a simple online resizer could be more than enough.

From developing integrations to strategic support, from creating creative concepts to optimizing results.
Reducing image weight for a faster website
Perhaps not everyone knows that a website’s performance is directly proportional to the weight of its images. In fact, the heavier the images, the slower the site loading. This compromises not only search engine indexing but also the user experience. Indeed, people don’t like waiting too long to get the information they’re looking for.
Besides content SEO optimization, the right keywords, and technical performance, we must, in fact, never forget to evaluate the following characteristics of our web images: quality, size, weight, filename, and alt tags. An image SEO can turn out to be key, rather than just useful to improve your website performance.
Yes, choosing a beautiful photo that matches the site, its style, and associating it with the right keywords in the alternative text is important. However, it’s even more relevant that its weight and size match the web parameters.
The ideal weight of web images is about 200–300 kb. Keep the resolution at 72 dpi and the dimension for the long side at 1200 pixels max.
Reducing the image weight to email a heavy file
We need to take the weight of web images into account, even if its relevance may easily go unnoticed. Emailing files, though, is another story: if the file is too large, then it just can’t be sent. And so you realize the need to reduce the image weight for sending via email!
If the image quality isn’t important, then a resize website, which sets the right compression level, might be the fastest and most intuitive solution for emailing image files.
When you need to send images with their original quality, it’s best to go for alternative sending methods. Working from home has made the old USB flash drive obsolete. Rather, use sites like WeTransfer, which allow for sending high quality images for free. Just be sure to download your incoming files on time as your content on this platform expires after a week!
Easily reduce the weight of images using online and offline tools and programs
1. Compress the size of your images without caring too much about quality
Oftentimes, images facilitate the flow of website text and help the readers find the information they’re looking for. In this case, the relevance of image quality obviously fades given its function compared to the page’s loading speed—and the image weight must also be taken into account.
In these instances, when you don’t place a lot of emphasis on the quality of the image, feel free to go for one of the many, free resizing tools that are available online. You can pay for more professional functions.
These sites tend to work through image compression and give algorithm-generalized standard sizes for web optimization.
The most-used sites include Optimizilla, TinyPNG, and CompressJpeg. Do a quick web search to find the best site for you, and save it as a favorite: it will come in handy whenever you prioritize a smaller image weight over the original quality.
Further, consider using a plugin if your site is built on WordPress. Plugins are nothing more than support programs to improve the functions of other programs. In short, they add new features to your site with no need for you to code.
Here are some examples of WordPress plugins for reducing image weight:
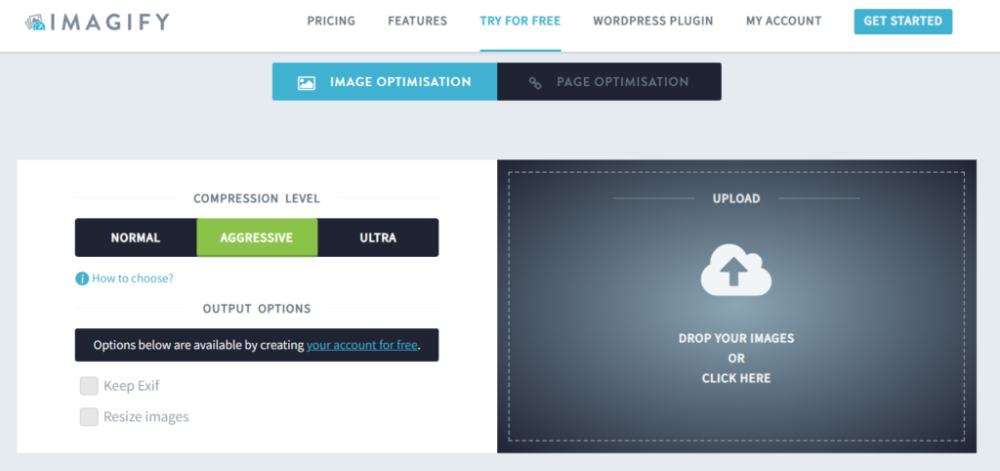
The compression process is really simple: just drag and drop the file you want to compress and upload it to the appropriate box. Compression will take place automatically or after clicking the start button. The image weight and size will be optimized in just a few clicks.
2. Reduce the weight of your images by converting the format of your files
Format conversion can be an easy and good solution when you want to reduce the weight of website images while staying as true as possible to their original form and quality.
For example, convert PNG files to JPG files, or BMP to JPG. Don’t expect a miracle, of course, as some data and quality will still be lost in the process of converting them to a lower weight.
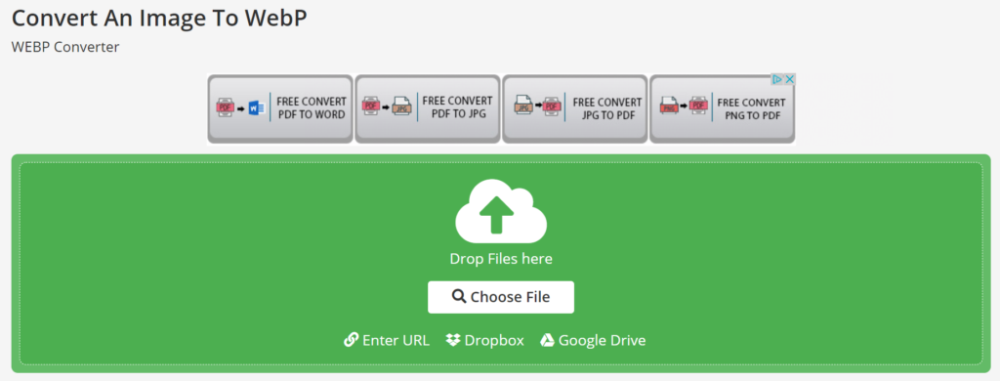
3. Choose the WebP format
This type of image format has been developed by Google. It guarantees image compression with no quality loss and easy SEO optimization. WebP images are 34% lighter than a PNG, and even lighter than a JPEG.
The WebP format has been developed by Google. So it’s perfectly supported by Blink-based browsers, including Chrome, which means, almost 80% of the overall browsers.
Even Facebook uses the WebP format in its Android apps, and YouTube uses them for its video thumbnails.
Why use the WebP format?
WebP guarantees both performance and functionality. Unlike other formats, in fact, WebP also supports transparency and animation.
How to convert an image to the WebP format
There are two free online tools for converting JPG, PNG, and other formats to WebP:
4. How to reduce the weight of a photo with a computer program – Photoshop
Most likely, the best-known professional program to reduce image weight is Photoshop.
Sure, it’s not the easiest software to use, but its image weight reduction feature is still fairly intuitive. Plus, it does a more personalized and professional job than many compression algorithm-based websites.
Start working on your image by going to the File > Open menu (top left), and choose the image to edit.
Import the photo, then re-click on File, and click on Export as. Set the Format drop-down menu in the right-hand part of the window as a JPG. Set the quality, and choose the final size through the Scale option.
The new size will automatically display after each change. Once you’re done with your changes, click on Export all and save for the web. It’d be better to already optimize the image name and alt tag as well.
Perhaps one issue with Photoshop is that you need Adobe software to use it. Getting access to a non-original version of this software never used to be difficult. But now it’s become hard to download it independently, and the only way to enjoy its features is through an Adobe software subscription.
Conclusions
Always keep the image weight factor in mind when working with the web, emailing files, and, why not?—sending newsletters with images.
If you aren’t a photographer or a designer who needs a super high quality image, then go for a smaller image weight and optimize your web content when sending or uploading it onto a personal site.
For faster yet acceptable results, free websites based on algorithm compression are definitely the best solution: they’re easy, intuitive, and painless.
But for extra features, Photoshop is hands down the most popular program. Don’t know how to use it? Don’t worry—so many online tutorials can help you learn, but… remember to buy the license first!
Share this article
